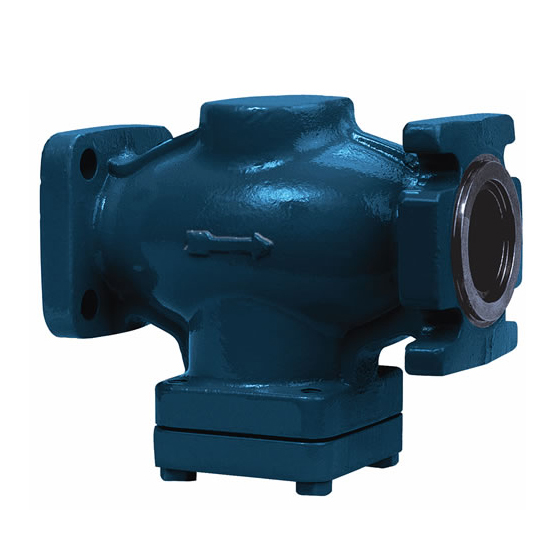
Rugged. Damage-Prevention. Cost-Efficient.
Repeated inspection of strainers during system start-up or repairs is essential for optimum benefit. Before opening a strainer or any other component, be sure it is isolated from the system, and all refrigerant is removed (pumped out to zero pressure). The ¾” through 6” strainers have a drain plug in the bottom cover for connecting a drain valve and hose for proper and safe removal of any trapped liquid refrigerant.
Screen Removal and Cleaning: Be careful to avoid any refrigerant which may still be in the strainer. For the ½” strainer, slowly remove the hex bottom cap, then remove the screen assembly. For ¾” through 6” strainers, loosen the bottom cover bolts and bottom cover, check for refrigerant presence, and then remove the bolts, cover, and screen assembly. Clean the screen assembly with a good solvent, blow dry, and inspect. If the screen is damaged or sediment cannot be removed from the screen, replace the screen assembly. Carefully align the screen assembly in the center of the strainer body and replace the bottom cover. Pressure test for leaks before returning to service.
Body: ½” through 4”: Ductile iron, ASTM A536, 5” and 6”: Cast steel, ASTM A352
Bottom Cover: ½”: Steel, ASTM 108 ¾” through 1¼”: Ductile iron, ASTM A536
1½” through 6”: Steel, ASTM A36
Drain Plug: Standard on ¾” through 1¼” (¼” NPT), 1½” through 4” (½” NPT), 5” & 6” (¾” NPT), ½” optional (¼” NPT)
Screen: Stainless steel, 60 mesh (233 micron rating) or 100 mesh (150 micron rating)
ST050 has 100 mesh (150 micron rating)
Gaskets: Nonasbestos, graphite composite
Safe Working Pressure: 400 psig (27 bar)
Operating Temperature: – 60°F to +240°F (–50ºC to +115°C)